General Help

General Functionality

Global search

There is a global search on the Portal that searches across Messages, Pending Actions, and documents that are uploaded to the Portal. Click on the magnifying glass in the top banner, type the relevant search term in the field that expands and click enter/return.

Search results are broken out into three categories: Documents, Messages and Pending Actions.

  • Documents: Displays documents containing the search term in the title and is attached to either a message or request that you are permissioned to view.
  • Messages: Displays messages containing the search term in the subject and/or body of a message that you are permissioned to view.
  • Pending Actions: Displays pending actions containing the search term in the description of an action that you are permissioned to view.

Filter search

There is a filter option in many of the tables across the Portal. Simply type your search term in the field provided and the table will update to display records containing that term.

Filter Search

If you enter data on a Portal screen (e.g. a Request Change or message) and try to navigate away without choosing to complete the action, either by submitting or cancelling it, the following warning will display:Unsaved Warning

Click "Continue" to leave the previous Portal screen. Your previous changes will not be saved.

Click "Cancel" to return to the screen you were previously updating.

You can find guidance on how to complete your DUO MFA Pre-Enrolment.

Account Settings

Important: Second factor authentication is required to change your email address. Please have your second factor method ready to complete this action.

All user account details are managed from Account Settings. If you are on an institution screen, you can navigate to Account Settings by clicking on the arrow beside your name in the top right corner of the screen and selecting Account Settings from the dropdown.

To change your email address:

  1. Click the "Change" button on the Email Address field.
  2. A dialogue box will appear to advise you that second factor authentication is required. Click "Continue".
  3. Complete the authentication using your chosen second factor method.
  4. The "Change Your Email Address" form will open. Enter your new email address into the field provided (Step 1).
    Remember: Your email address is used to manage your Portal account. It should be a personal email account that is accessible only by you, and it cannot be in use by another Portal user.
  5. An email containing a verification code will be sent to your new email address. Enter this verification code into the field (Step 2). Click "Submit".
    If, for any reason, the verification code expires, you can request a new code to be sent by clicking the "Send another verification code" link.
    Change Your Email Address Step One

Firstly, your person code is issued to you as an individual. Retain this person code for future use. For your other login credentials:

  • If your email address and second factor method are not tied to your current employer, you can continue to use these details to access the Portal.
  • If your email address and/or second factor method are tied to your current employer, you should update your account details before you leave your current employer by logging into the Portal and going to Account Settings. See how to update my email address and how to update my second factor method for more detailed instructions.

In addition to the above, you should notify the Portal Administrator of your current employer to advise them that you are leaving and request they remove your access to the institution’s profile at the appropriate time.

  1. Navigate to Account Settings. (See the Account Settings overview for more information).
  2. Under My Details, select the "Change" button beside the Name field.
  3. A "Change Your Name" form will open. Complete the First Name and Last Name fields, and click "Next".
    Change Your Name Issue
  4. An email with a verification code will be sent to your registered email address.
  5. Copy the verification code into field provided, and click "Submit".

You will be directed back to Account Settings, where you will see your updated name.

Important:

  • You can only update your name once per calendar day. If you submit a change to this record and then want to revert this change, you will need to wait until the next day to submit another change.

Firstly, if you’ve forgotten your password and are unable to log into the Portal, visit the Forgot Password page to reset it.

If you know your current password and wish to change it, you can do this from the Account Settings once you have logged into the Portal.

  1. Navigate to Account Settings.
  2. Under My Details, select the "Change" button beside the password field. A new browser window will open.
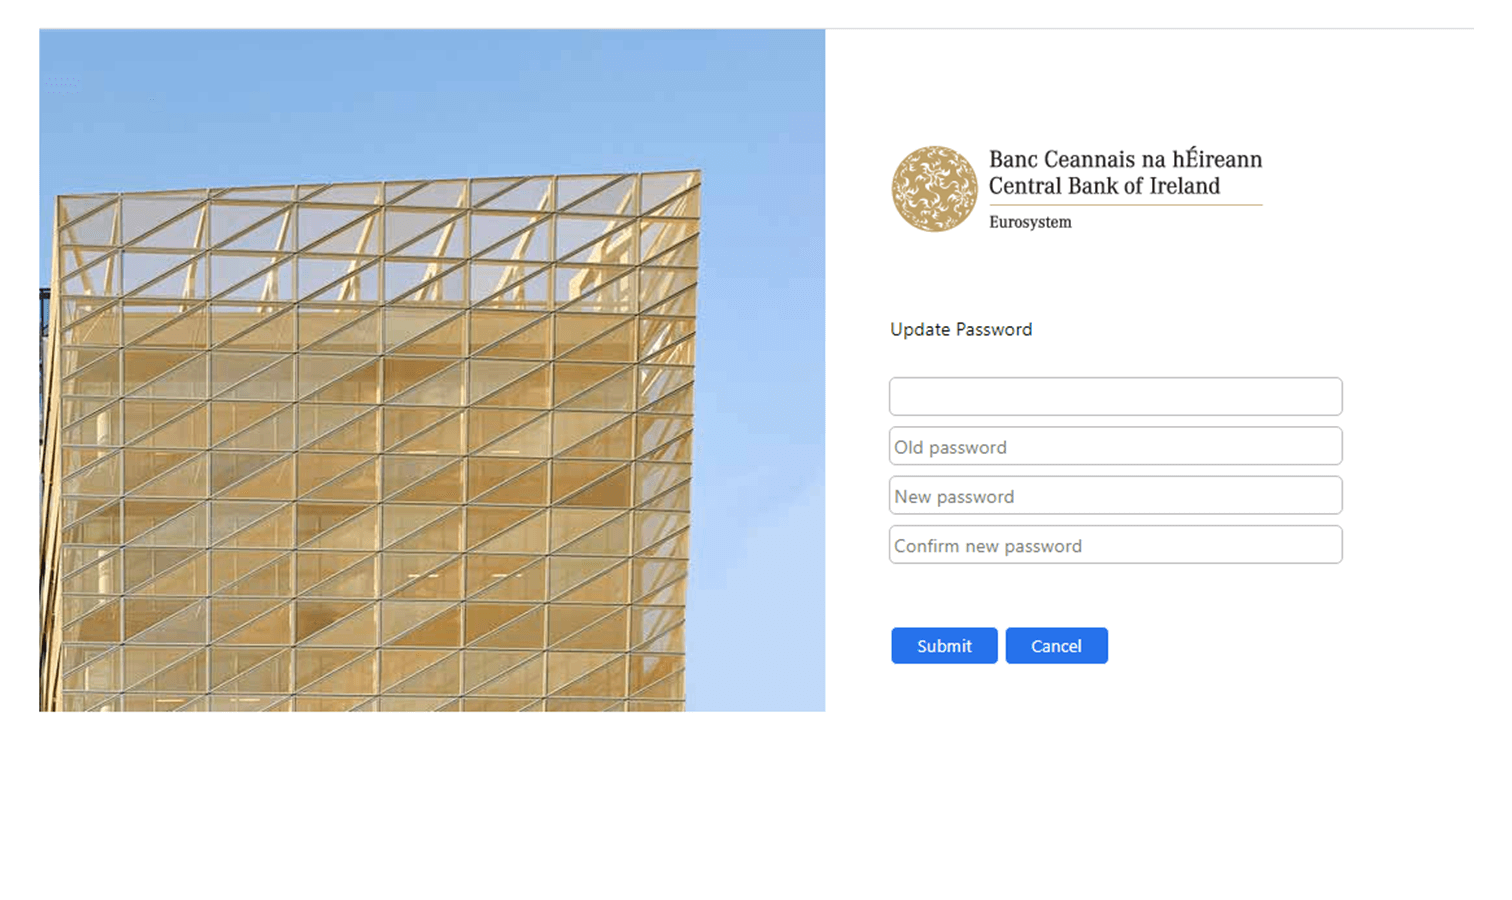
    Update Password
  3. Complete the four fields (Your person code, your current password, your new password, and confirm your new password).
  4. Click "Submit".

A message will display to say your password has been successfully updated. You can now safely close this browser window.

If you wish to cancel this action at any time, simply click the "Cancel" button or close the browser window. Your password will not be updated.

Please see our Help on Your Second Factor Method page under "How do I add an alternative second factor method?" for instruction on how to add an alternative second factor.
Please refer to Help on Your Second Factor Method at "How do I update my second factor app details?"
Please refer to Help on Your Second Factor Method at "How do I update my second factor phone details?"
Please refer to Help on Your Second Factor Method page at "How do I add an alternative second-factor method?" for instruction on how to add an alternative second factor.

Managing My Permissions

There are three levels of Portal user:

  1. Portal user: This refers to any registered user of the Portal, including Business and Portal Administrators. A new Portal user must contact the Portal Administrator in the relevant institution and request to be added to that institution with the necessary permissions based on their role, e.g. Request Changes and messages.
  2. Business Administrator: A Portal user that has been assigned Manage Access permission(s) by their Portal Administrator. The Manage Access permission allows this user to assign specific permissions to other Portal users.
  3. Portal Administrator: This Portal user manages an institution’s Portal user access, including adding and permissioning all Portal users and Business Administrators. See What is the role of a Portal Administrator.

See How do I register for the Portal?

All Portal users are responsible for using the Portal in agreement with the Portal Terms of Use.

The menu options available to you are based on the access permissions you have been assigned.

If you need access to additional functionality, please contact your Portal Administrator to request a change your permissions.

This depends on your internal processes. You can reach out to your institution’s Portal Administrator off-system or the Portal offers functionality to allow you to request a change of permissions on the system, as follows:

  1. Click “My Institution Profile" > "Manage My Permissions" in the navigation menu. A list of your current permissions for this institution will display.
  2. Find the relevant permission and click the adjacent Request Change link.
    Request Permission Change
  3. Complete the Permission Change Request form:
    • Select a Portal Admin who can approve this request
    • Explain what new permissions you need, this is a free text box so you can include details of all changes to your permission you need.
      Permissions RC
  4. Click "Confirm" to send the request to the selected Portal Admin to be actioned. This will create an item in the Pending Actions lists of both yourself and the Portal Admin selected above.

    Note: Once the Portal Administrator has actioned your request you will need to log out then log back in again for the change in permissions to take effect.

    • Click "Cancel" to return to your list of permissions without sending a permission change request.

Technical Specifications

The Central Bank of Ireland Portal should be available at all times, with the exception of scheduled maintenance windows, which will be communicated to users in advance.

Central Bank of Ireland Portal Support service hours are 9am to 6pm Monday to Friday, excluding public holidays. If you are experiencing technical issues with the Portal, please email [email protected]  or call 01224 4545.

Your Portal login session will time out after eight hours of inactivity, at which point you’ll be required to log in as usual (including using your second factor method). If you are finished using the Portal, we recommend that you use the Logout link under Account Settings in the top right corner to close out your session properly.

To use the Central Bank of Ireland Portal, you simply need a device that has a browser and can access the internet.

Note: IE11 support has been discontinued January 2022 for use with Central Bank of Ireland Portal.

See also The site doesn’t work on my mobile device.

Passporting

Contact Us